Integrate Commvault Cloud with IDrive® e2
Commvault Cloud is a cloud-native data protection and cyber resilience platform that unifies backup, recovery, security, and governance across hybrid, multi-cloud, SaaS, and on-premises environments through a single console. Powered by Metallic AI, Commvault Cloud delivers ransomware defense, immutable backups, cleanroom recovery, and broad workload support. Integrating with IDrive® e2 adds a capable, scalable cloud object storage solution that integrates effortlessly for secure, cost-efficient backups and fast recovery.
Prerequisites:
Before you begin, ensure the following:
- An active IDrive® e2 account. Sign up here if you do not have one.
- A bucket in IDrive® e2. Learn how to create a bucket
- Valid Access Key ID and Secret Access Key. Learn how to create an access key.
- A Commvault Cloud account subscription with Commvault Cloud Backup Gateway downloaded and installed on your machine.
Configure Commvault Cloud with IDrive® e2
- Log in to the Commvault Cloud Account.
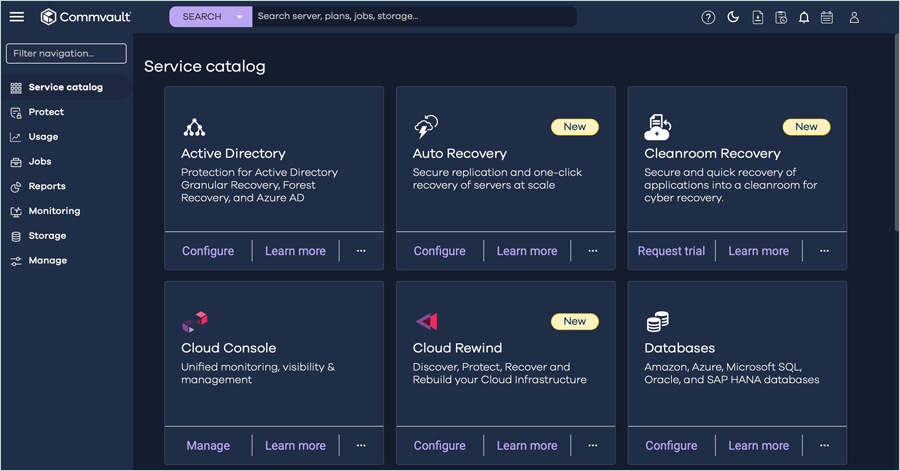
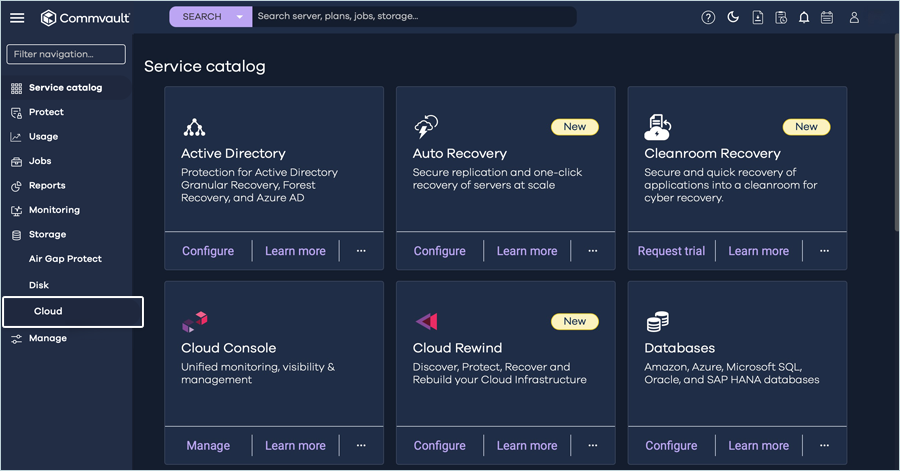
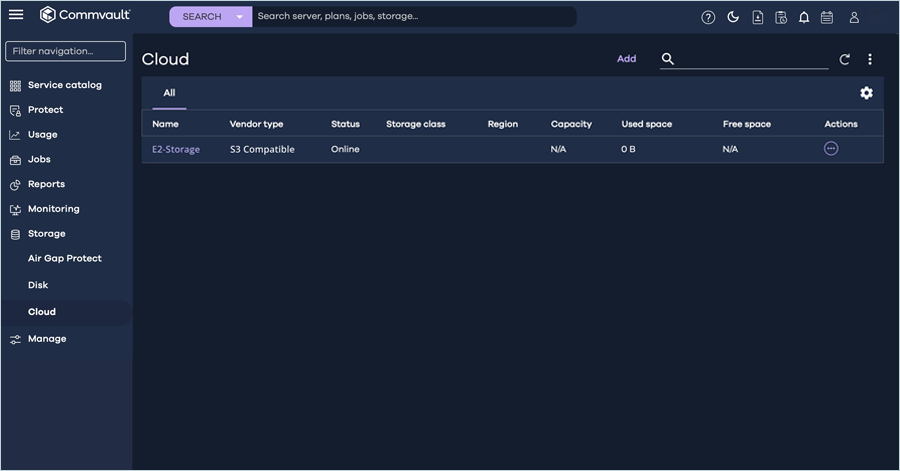
- Navigate to Storage in the left-side menu and click Cloud.
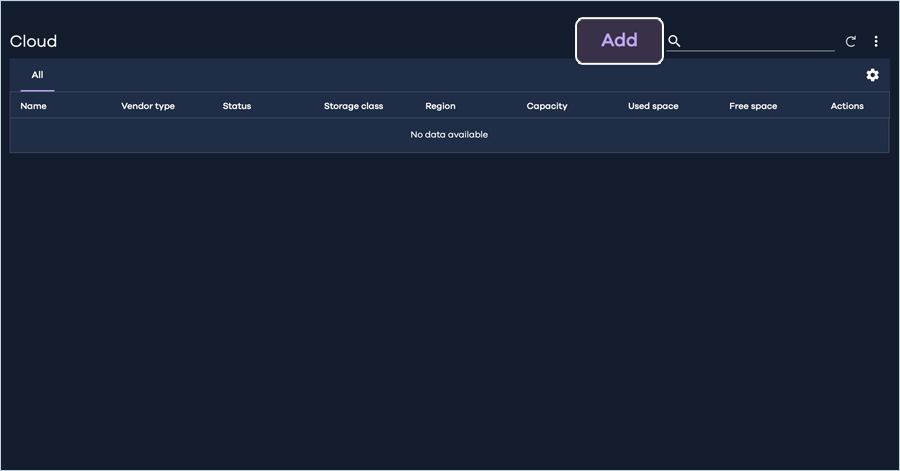
- Click Add to add a new cloud storage vault.
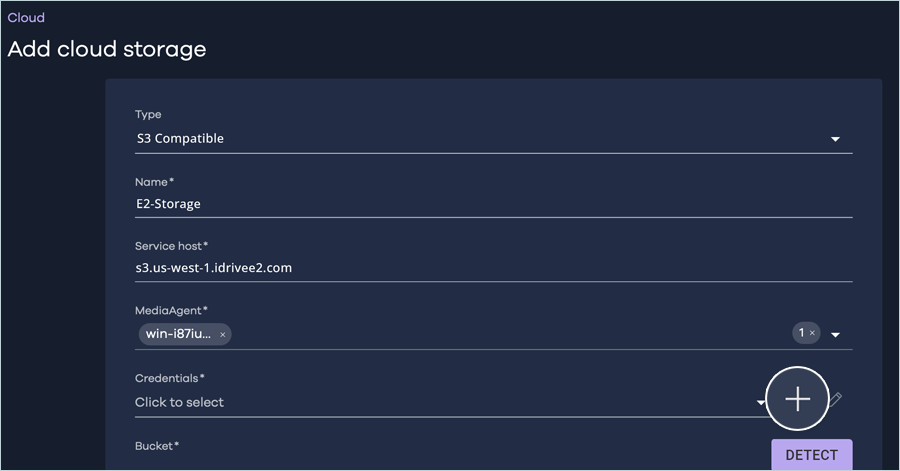
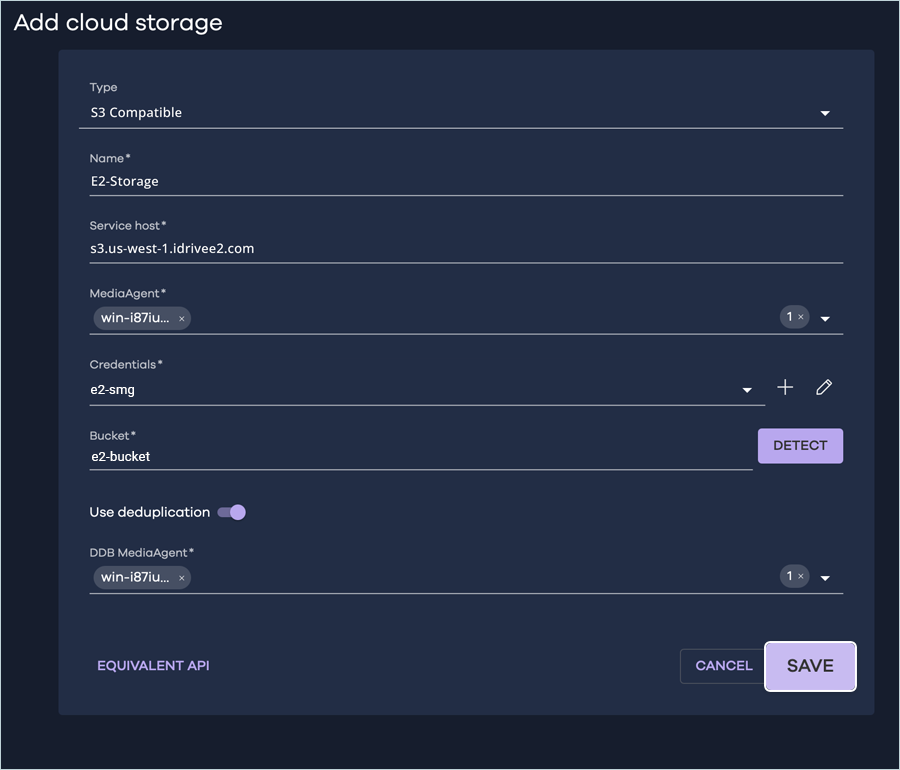
- In the Add Cloud Storage window, select S3 Compatible as Storage type and enter
the following details.
- Enter a Name for Cloud storage.
- Enter your IDrive® e2 S3 endpoint as the Service host.
- Select the desired MediaAgent.
- Click
 under
Credentials to add your e2 credentials.
under
Credentials to add your e2 credentials.
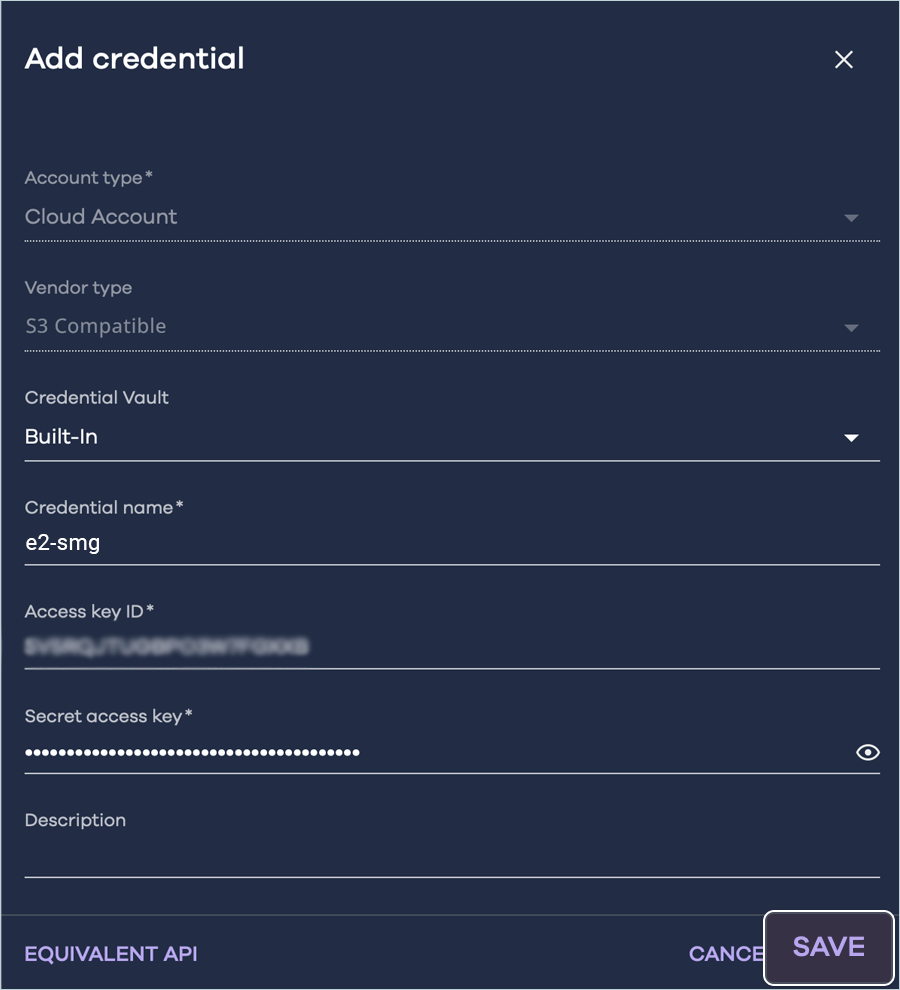
- In the Add Credential dialog box, enter your IDrive® e2 credentials as mentioned below.
- Enter a Credential name to store credentials.
- Enter your IDrive® e2 Access key as Access key ID.
- Enter your IDrive® e2 Secret key as Secret access key.
- Click Save.
- Select the newly added credential from the list.
- Click DETECT to select the bucket from the list.
- Enable deduplication and specify the Deduplication DB location. Click Save.
- The Cloud tab displays the newly added IDrive® e2 storage location.
Create a Backup Plan
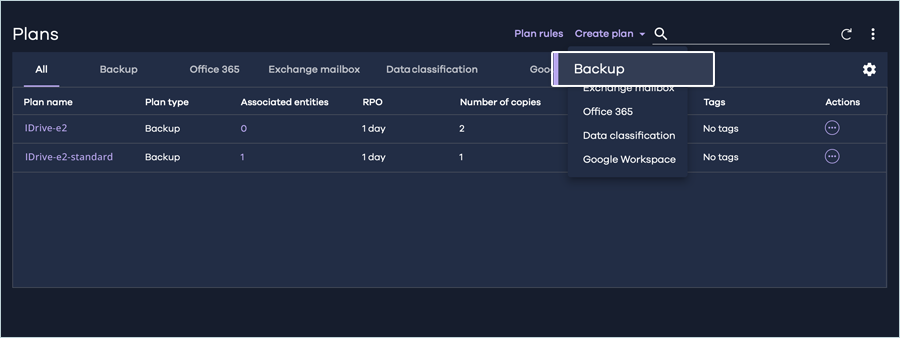
- Navigate to Manage in the left-side menu, then click Plans.
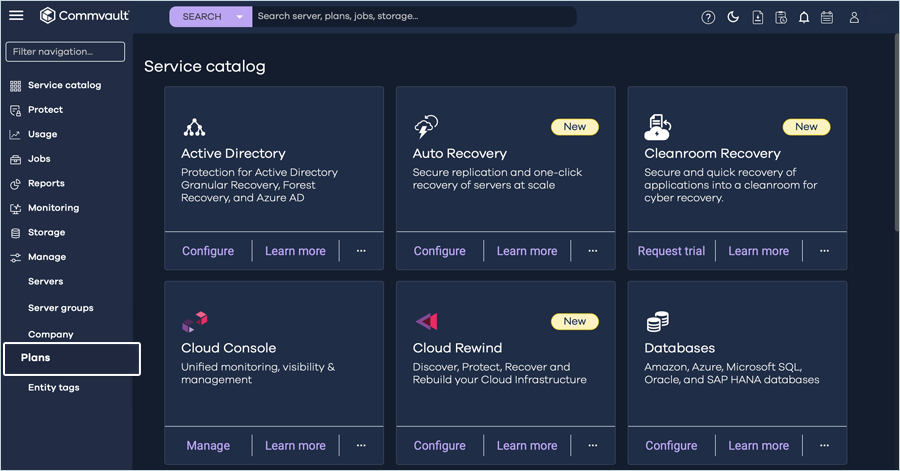
- Click Create Plan and select Backup.
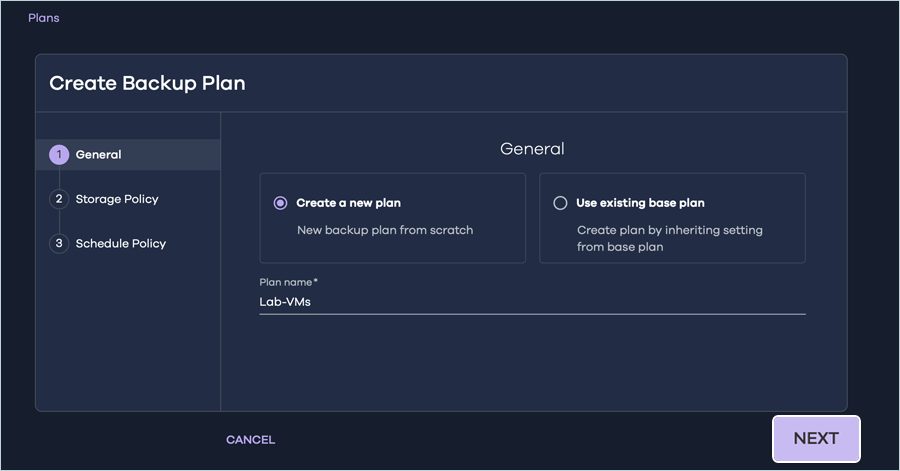
- In the Create Backup plan tab, select Create a new plan and enter a plan name. Click Next.
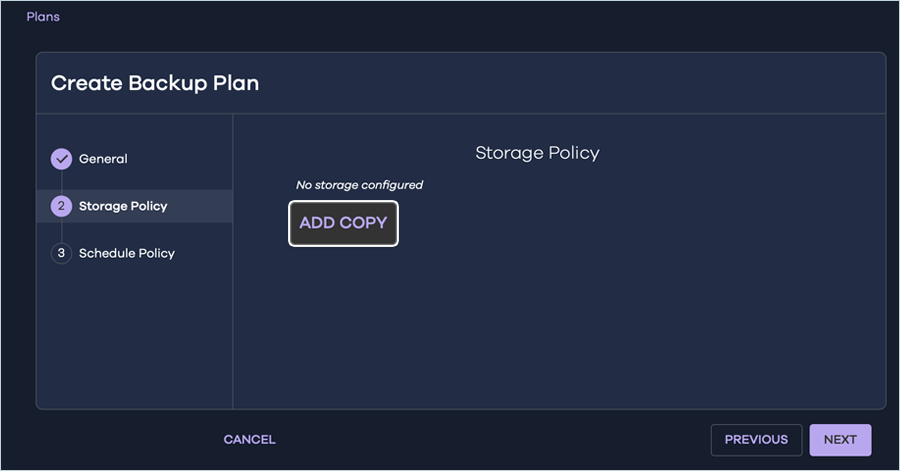
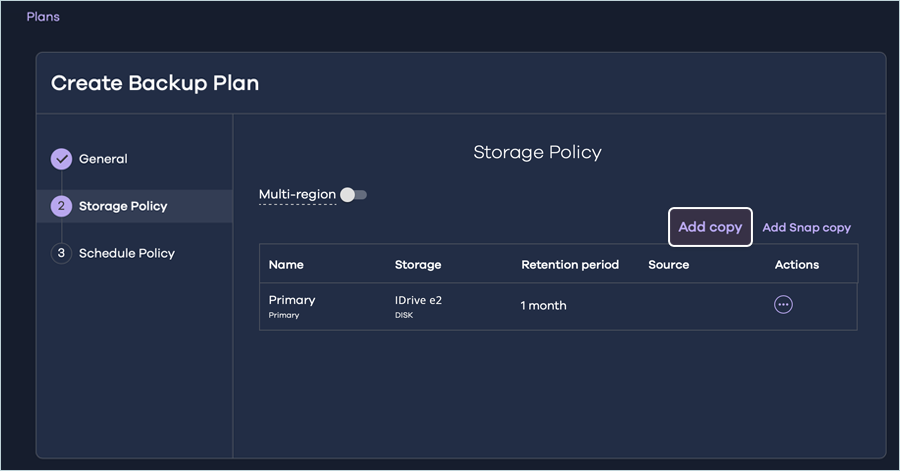
- In the Storage Policy tab, we will configure the storage targets. Click ADD COPY.
- Your IDrive® e2 Storage can be configured as either a Primary storage or as a target for a secondary
copy of the backup data.
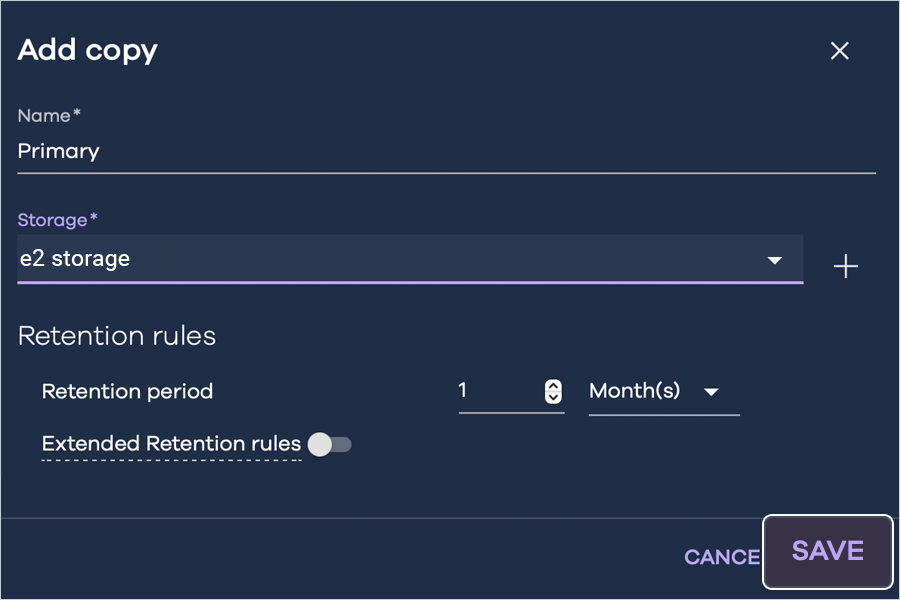
- To configure IDrive® e2 as a Primary Copy,
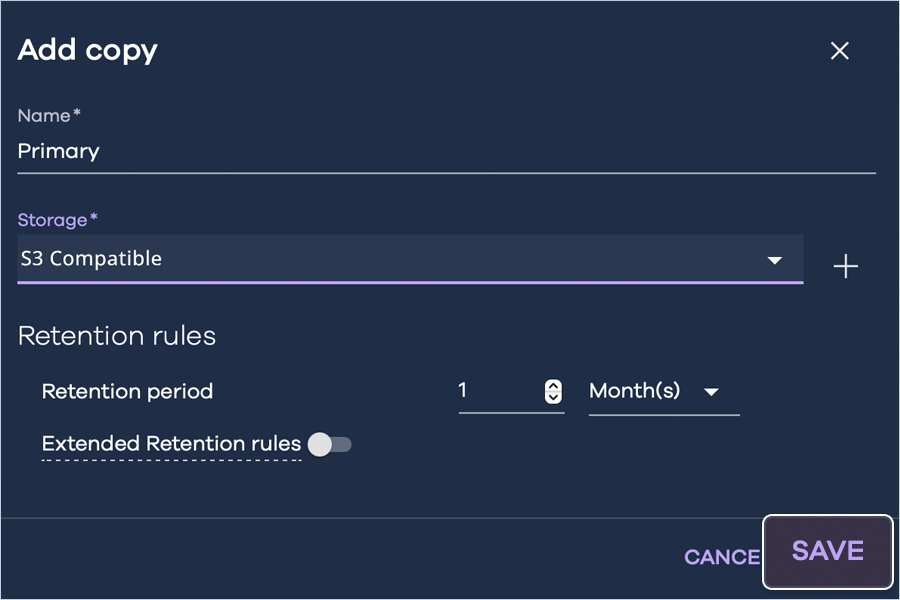
- In the Add copy dialog box, enter the following details, then click Save.
- Enter a Name for the destination.
- Select the IDrive® e2 Storage location configured earlier as the Storage.
- Set the Retention period as required.
- Click Next to configure the Schedule Policy.
- In the Add copy dialog box, enter the following details, then click Save.
- To configure IDrive® e2 as a Secondary Copy,
- To configure IDrive® e2 as a secondary storage target, set the desired storage as the primary storage,
then click Save.
- Click Add Copy to add IDrive® e2 as a secondary copy.
- Provide the required information and click Save.
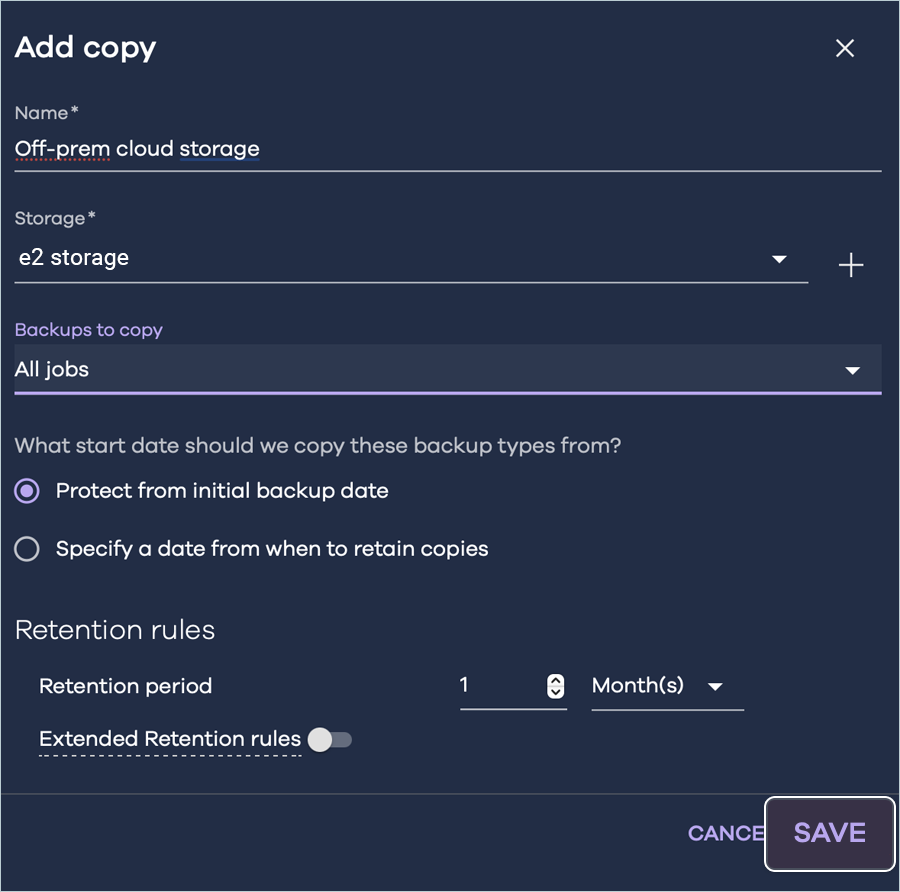
- Click Next to configure the Schedule Policy.
- To configure IDrive® e2 as a secondary storage target, set the desired storage as the primary storage,
then click Save.
- To configure IDrive® e2 as a Primary Copy,
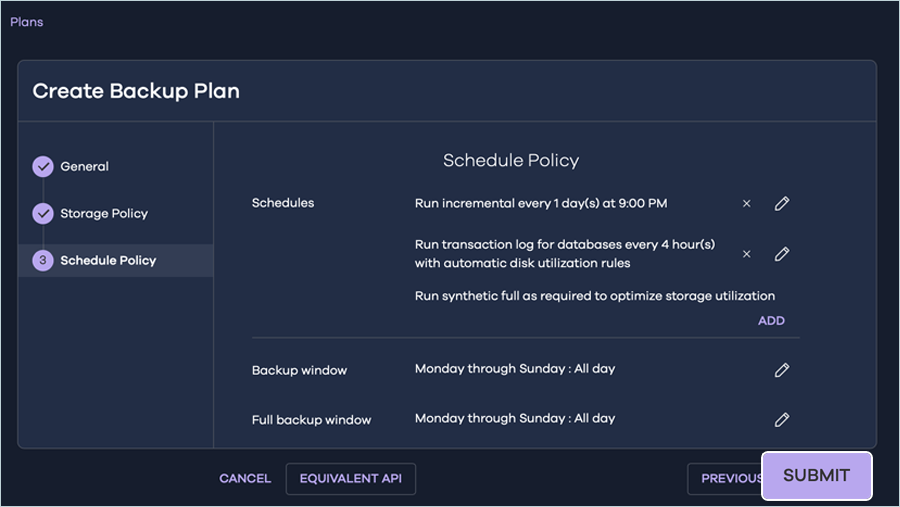
- Configure the desired schedule policy and click Submit.
The virtual machines associated with this plan will be backed up to the IDrive® e2 storage location.
Note: The data restoration process is managed by your backup software, which helps recover lost or compromised data. Each computing environment is unique, and factors such as data type, software settings, and system performance can impact the restoration process. If you encounter issues or have application-specific questions, please contact the technical support team for your backup software for expert assistance.